# Step3
## 论文
`
Step-3 is Large yet Affordable: Model-system Co-design for Cost-effective Decoding
`
- https://arxiv.org/abs/2507.19427
## 模型结构
Step3 是一个先进的多模态推理模型,基于混合专家架构构建,拥有 321B 总参数,单token激活38B参数。
它采用端到端设计,旨在最大限度地降低解码成本,同时在视觉语言推理领域提供顶级性能。
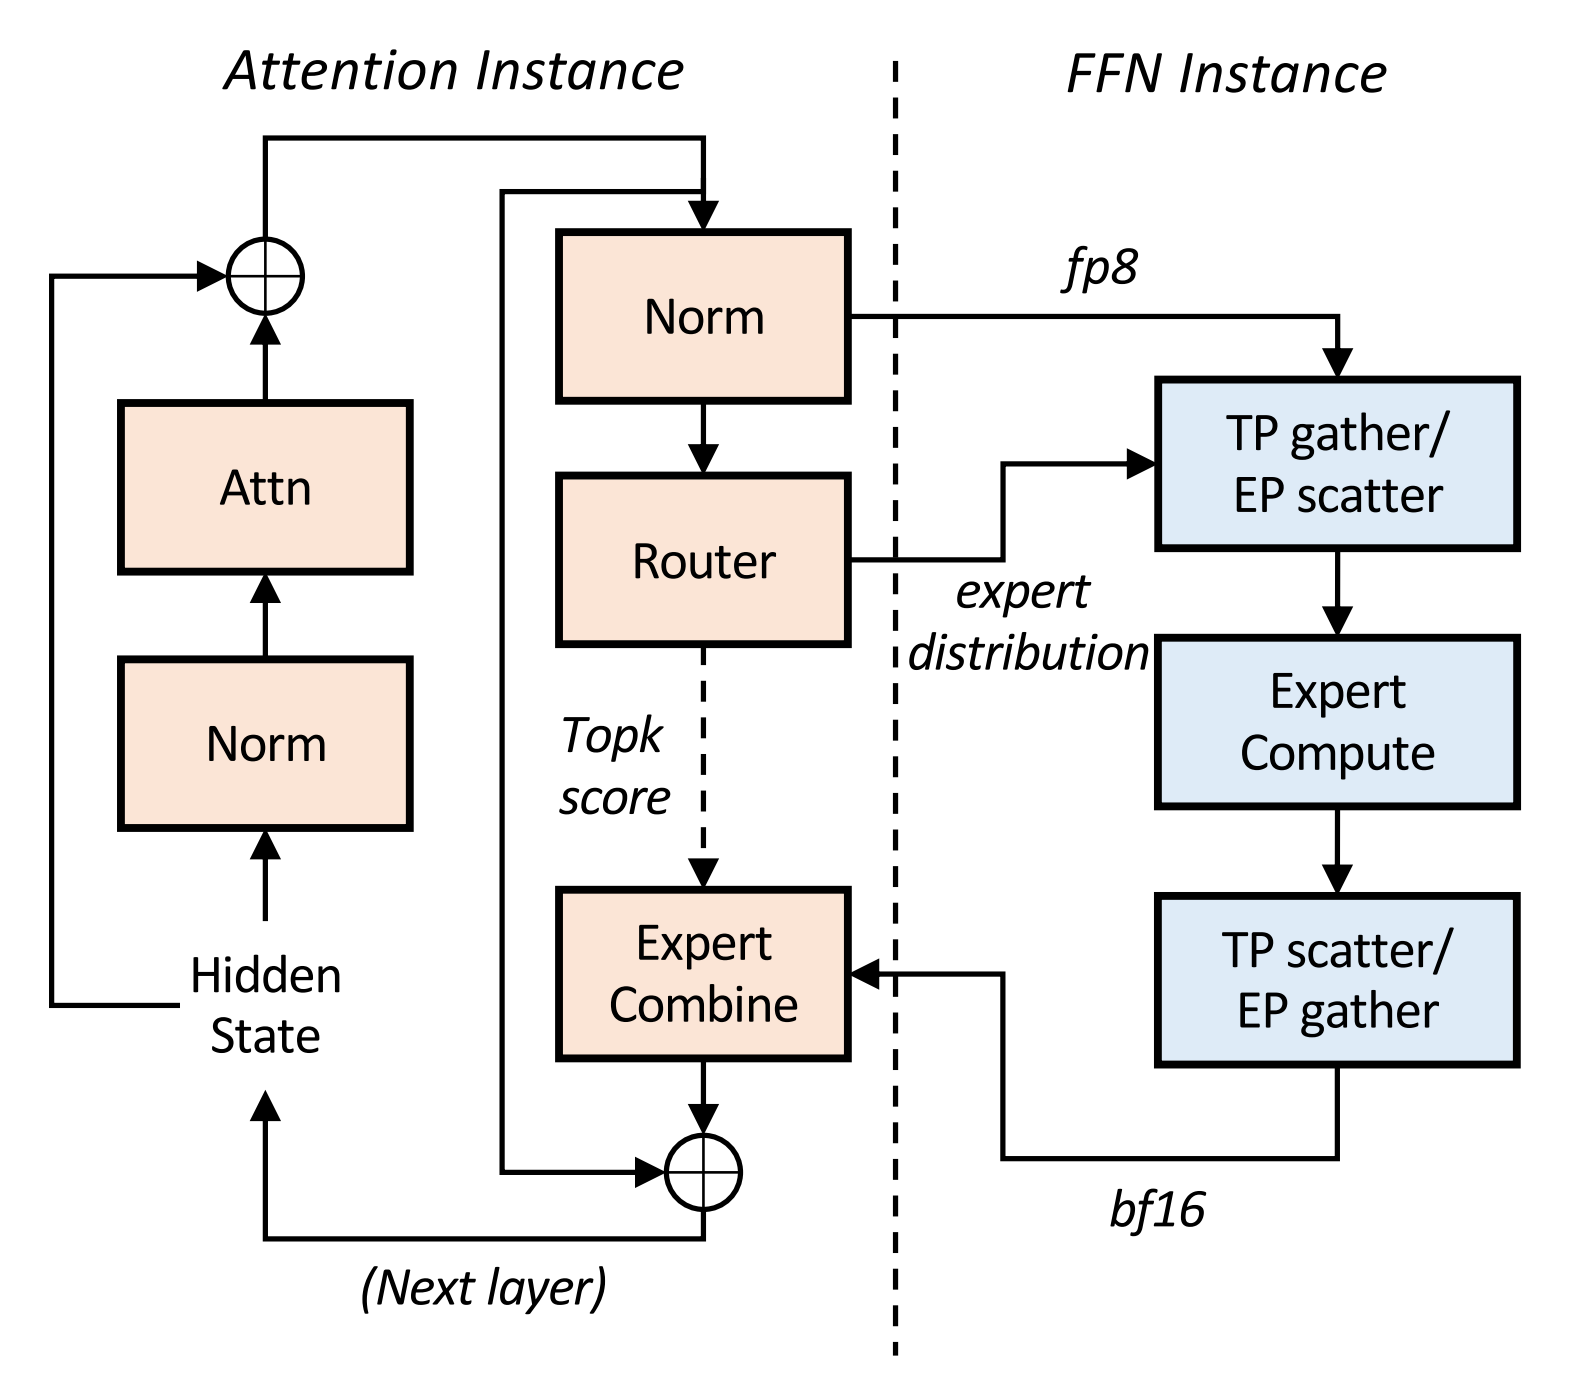
通过 Multi-Matrix Factorization Attention(MFA)和Attention-FFN Disaggregation (AFD)的协同设计,Step3 高端和低端加速器上均保持卓越的效率。
AFD的架构实现如图所示。
## 算法原理
Step-3引入了两大优化设计:
- 在模型算法方面,引入了MFA(Multi-matrix Factorization Attention)算法,其计算密度设计更加均衡,相较于MHA, GQA, MLA实现更低的decode成本。
- 在系统设计方面,引入了Attention FFN分离架构(Attention-FFN Disaggregation, AFD), 并根据具体硬件配置相应并行策略。
## 环境配置
### Docker(方法一)
```
docker pull image.sourcefind.cn:5000/dcu/admin/base/custom:vllm-ubuntu22.04-dtk25.04.1-rc5-das1.6-py3.10-20250802-step3
# 为以上拉取的docker的镜像ID替换
docker run -it --shm-size=1024G -v $PWD/Step3_pytorch:/home/Step3_pytorch -v /opt/hyhal:/opt/hyhal:ro --privileged=true --device=/dev/kfd --device=/dev/dri/ --group-add video --name step3 bash
```
### Dockerfile(方法二)
```
cd $PWD/Step3_pytorch/docker
docker build --no-cache -t step3:latest .
docker run --shm-size=1024G --name step3 -v /opt/hyhal:/opt/hyhal:ro --privileged=true --device=/dev/kfd --device=/dev/dri/ --group-add video -v $PWD/Step3_pytorch:/home/Step3_pytorch -it step3 bash
```
## 数据集
`无`
## 训练
`无`
## 推理
注意:运行该模型需要16x64(GB)显存。
### 多机多卡
启动ray集群
```
#head节点执行
ray start --head --node-ip-address=*.*.*.*(主节点ip) --port=*** --num-gpus=8 --num-cpus=**
```
```
其余节点执行
ray start --address='*.*.*.*:***' (*.*.*.*:主节点ip,***:port) --num-gpus=8 --num-cpus=**
```
vLLM Deployment(vllm官方暂不支持AFD,只支持非分离模式部署):
```
#head节点执行
#Tensor Parallelism
VLLM_USE_NN=0 VLLM_USE_FLASH_ATTN_PA=0 vllm serve /path/to/step3 \
--reasoning-parser step3 \
--enable-auto-tool-choice \
--tool-call-parser step3 \
--trust-remote-code \
--max-num-batched-tokens 4096 \
--distributed-executor-backend ray \
--dtype float16 \
-tp 16 \
--port $PORT_SERVING
```
` 暂不支持attention data parallelism`
- Client Request Examples
```
from openai import OpenAI
# Set OpenAI's API key and API base to use vLLM's API server.
openai_api_key = "EMPTY"
openai_api_base = "http://localhost:8000/v1"
client = OpenAI(
api_key=openai_api_key,
base_url=openai_api_base,
)
chat_response = client.chat.completions.create(
model="/path/to/step3",
messages=[
{"role": "system", "content": "You are a helpful assistant."},
{
"role": "user",
"content": [
{
"type": "image_url",
"image_url": {
"url": "https://xxxxx.png"
},
},
{"type": "text", "text": "Please describe the image."},
],
},
],
)
print("Chat response:", chat_response)
```
- You can also upload base64-encoded local images:
```
import base64
from openai import OpenAI
# Set OpenAI's API key and API base to use vLLM's API server.
openai_api_key = "EMPTY"
openai_api_base = "http://localhost:8000/v1"
client = OpenAI(
api_key=openai_api_key,
base_url=openai_api_base,
)
image_path = "/path/to/local/image.png"
with open(image_path, "rb") as f:
encoded_image = base64.b64encode(f.read())
encoded_image_text = encoded_image.decode("utf-8")
base64_step = f"data:image;base64,{encoded_image_text}"
chat_response = client.chat.completions.create(
model="step3",
messages=[
{"role": "system", "content": "You are a helpful assistant."},
{
"role": "user",
"content": [
{
"type": "image_url",
"image_url": {
"url": base64_step
},
},
{"type": "text", "text": "Please describe the image."},
],
},
],
)
print("Chat response:", chat_response)
```
- text only:
```
from openai import OpenAI
# Set OpenAI's API key and API base to use vLLM's API server.
openai_api_key = "EMPTY"
openai_api_base = "http://localhost:8000/v1"
client = OpenAI(
api_key=openai_api_key,
base_url=openai_api_base,
)
chat_response = client.chat.completions.create(
model="/path/to/step3", # 模型路径
messages=[
{"role": "system", "content": "You are a helpful assistant."},
{"role": "user", "content": "The capital of France is"},
],
)
print("Chat response:", chat_response.choices[0].message.content)
```
## result
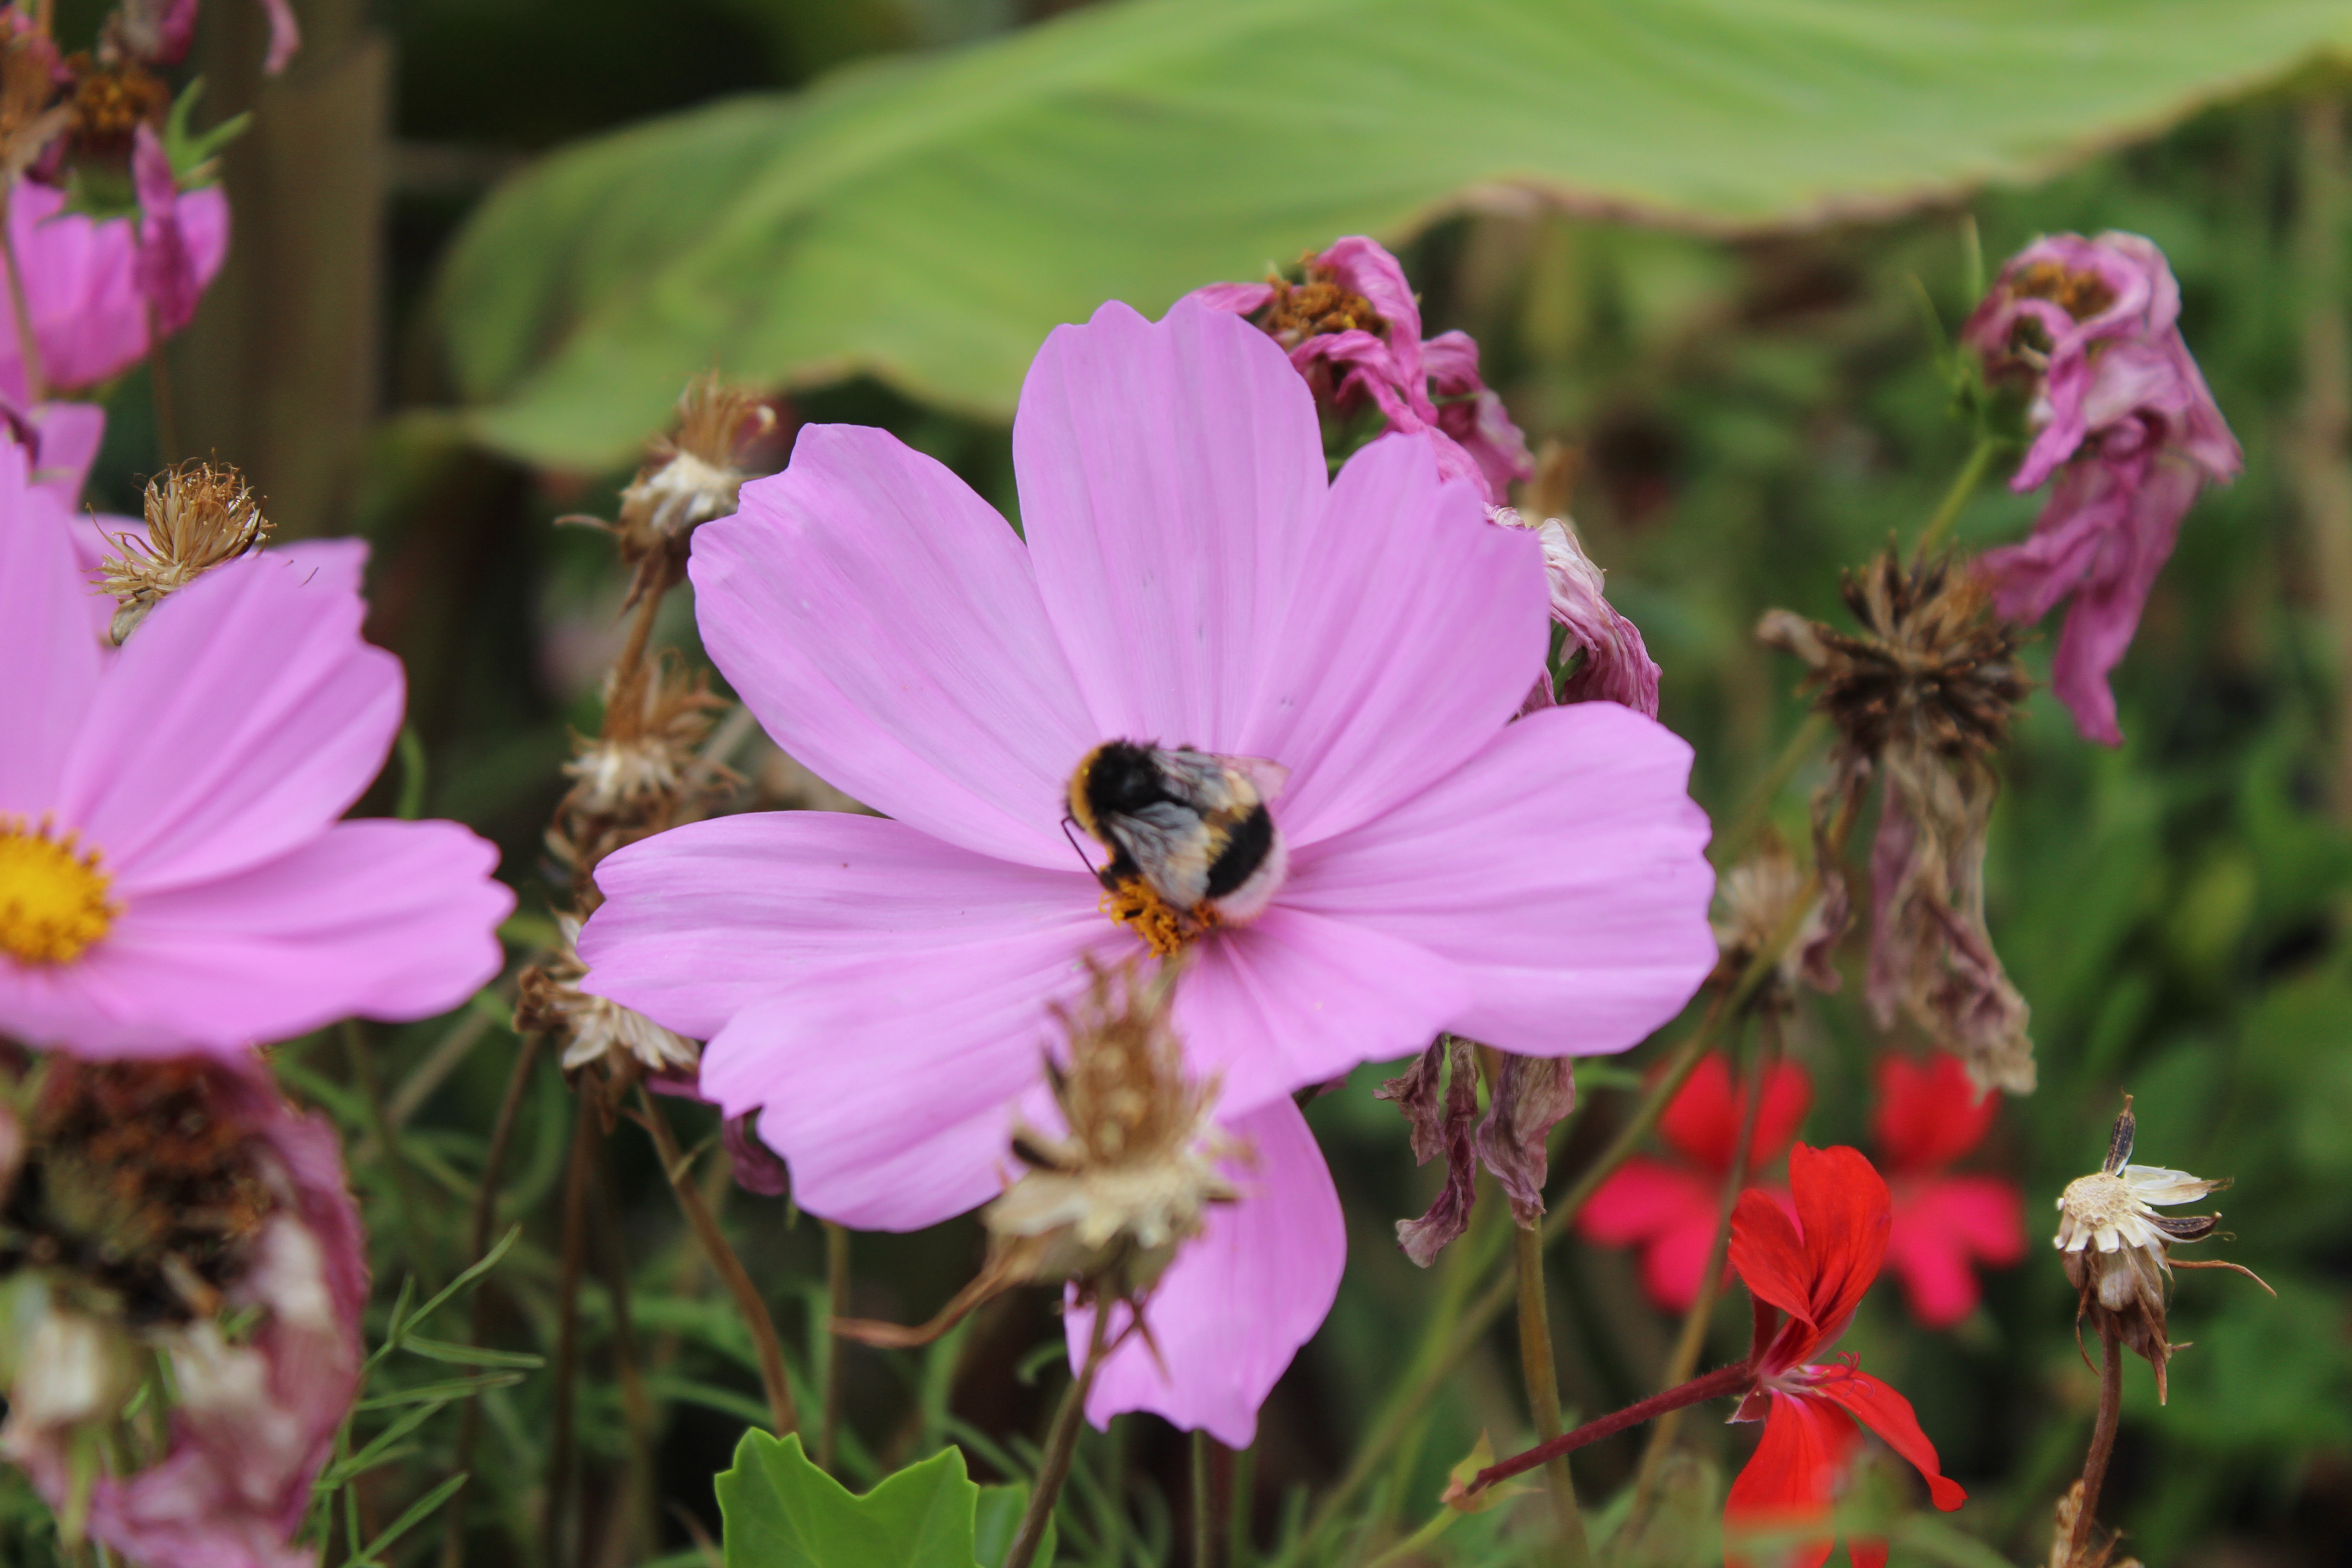
example1:
- text:Please describe the image.
- image:
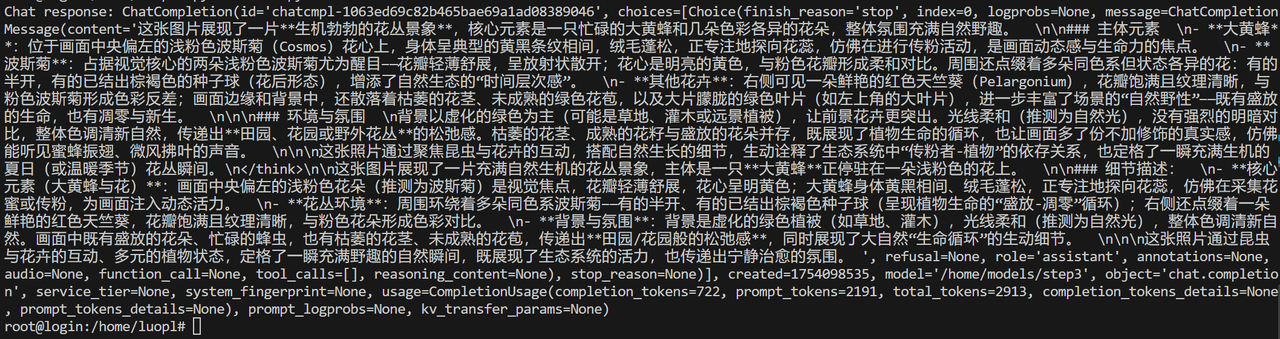
- 输出结果:
### 精度
`无`
## 应用场景
### 算法类别
`对话问答`
### 热点应用行业
`电商,教育,广媒`
## 预训练权重
huggingface权重下载地址为:
- [stepfun-ai/step3](https://huggingface.co/stepfun-ai/step3)
`注:建议加镜像源下载:export HF_ENDPOINT=https://hf-mirror.com`
## 源码仓库及问题反馈
- https://developer.sourcefind.cn/codes/modelzoo/step3_pytorch
## 参考资料
- https://github.com/stepfun-ai/Step3/tree/main